Step 1: Inspection and Qualification
Every lining project begins with a detailed camera inspection — not the quick look used for a cleaning quote, but a careful survey of the entire lateral. The technician is checking three things: Is the pipe continuous, with no collapses or fully separated joints? Is the diameter consistent enough for a liner to fit? And are there obstructions — heavy root masses, large offsets, intruding taps — that would prevent the liner from seating properly?
The pipe must hold its basic shape. Lining creates a pipe within a pipe; the old pipe is the form. Cracks, root damage, corrosion holes, and moderate offsets are all fine — the liner bridges them. But a section that has collapsed into rubble, or a joint so offset that the liner cannot pass, disqualifies the line. There is no partial credit: one impassable section can rule out lining for the whole run.
Measurements come next. The crew measures the line's length, diameter, and the location of branch connections. The liner is custom-sized to these measurements — too small and it will not seal, too large and it will wrinkle. Precision here determines the quality of everything that follows.
Step 2: Thorough Cleaning and Preparation
Before any liner goes in, the host pipe must be thoroughly cleaned. This is more intensive than a routine cleaning: every root hair, every scale deposit, and every grease layer must come off the pipe walls so the liner bonds tightly and evenly. Technicians typically combine mechanical root cutting with high-pressure hydro jetting, then run the camera again to verify the pipe is clean.
Obstructions get special attention. Protruding taps — where a branch connection sticks into the main line — are ground down with robotic cutters. Hardened scale is removed. Any debris left behind becomes a bump under the liner, creating a weak spot or a wrinkle that reduces flow.
This step is where inexperienced installers cut corners, and it shows in the result. A liner installed over a dirty pipe bonds poorly and can delaminate. A properly prepared pipe looks almost new on the post-cleaning camera footage — smooth walls, clear joints, no debris. If your contractor skips the verification camera run after cleaning, ask why.
Step 3: Liner Installation
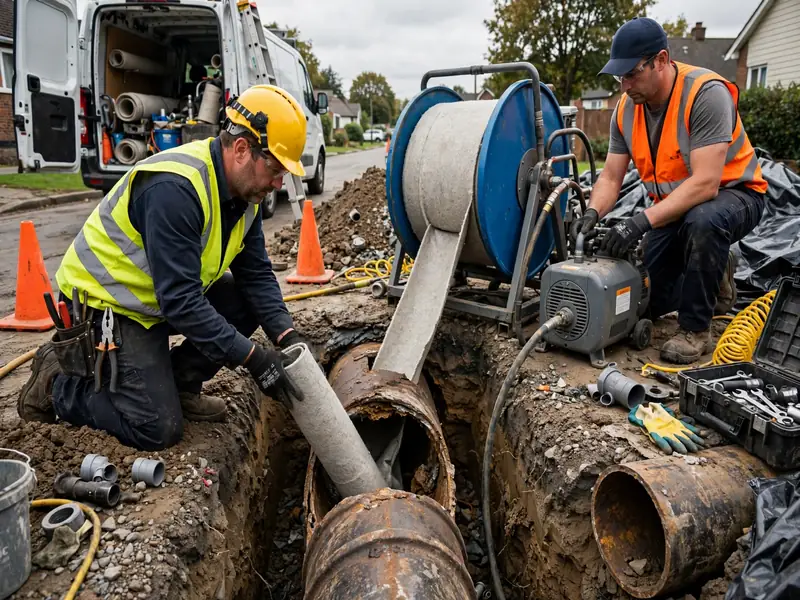
The liner itself is a felt or fiberglass tube saturated with liquid resin — typically epoxy or polyester. It is manufactured to the exact length and diameter measured in step one, then impregnated with resin at the job site or the shop. The resin is what hardens into the new pipe; the felt is the carrier that holds it in shape during installation.
Installation usually happens through an existing access point — a cleanout is ideal. The liner is inverted into the pipe using air or water pressure, which turns it inside out as it travels, pressing the resin-coated surface firmly against the old pipe walls. Watching it on the monitor, you see the liner advance steadily down the lateral, conforming to every bend.
Branch connections are handled with care. Where a branch line joins the main lateral, the liner initially covers the opening. After curing, a robotic cutter reopens each branch connection from inside the lined pipe, restoring flow to every fixture. This reinstatement step is precise work — it is also why accurate measurements of branch locations were taken during inspection.
Step 4: Curing Into a New Pipe
Once the liner is in position and inflated tight against the host pipe, the resin must cure — transform from liquid to a rigid, solid pipe. Curing methods vary: hot water, steam, or UV light, depending on the resin system and the installer's equipment. UV curing is the fastest, sometimes completing in hours; hot-water and steam curing take longer but are well proven.
During curing, the pressure is maintained so the liner holds its shape against the old pipe walls. Temperature is monitored to ensure the resin cures evenly along the full length. Rushing this step is the other classic installer mistake — an under-cured liner is soft, weak, and prone to failure.
After curing, the inflation bladder is removed and the camera goes back in for the final inspection. The technician checks for wrinkles, verifies that branch connections were properly reinstated, and confirms the liner runs continuously from start to finish. You should receive this post-installation video along with the pre-installation footage — the before-and-after pair is your proof of what was done.
What You Get: A Seamless New Pipe Inside the Old One
The result is a seamless, jointless pipe inside your old line. No joints means no entry points for roots — the weakness that destroyed the original clay tile is engineered out. The smooth resin surface resists scale and grease buildup better than old cast iron or clay. Flow capacity is slightly reduced by the liner's thickness, but the smoother surface more than compensates in practice.
Lining shines in specific situations. A clay-tile lateral with root intrusion at every joint but no collapses is the textbook candidate. So is a cast-iron line with corrosion and scale but intact structure. Lines running under driveways, patios, mature landscaping, or additions — anywhere excavation would be destructive — are natural fits.
It is not universal. Collapsed sections, severe offsets, bellies that need regrading, and lines with major diameter changes do not qualify. When lining is not an option, pipe bursting often is — see our explainer on how pipe bursting works for the other trenchless path. The camera footage, not anyone's preference, decides which method fits your pipe.